Creating a Home Practice Session
There’s nothing better than stepping into a yoga practice. Let’s walk through a typical Kundalini Yoga session, from start to finish. We invite you to use this as a template for setting up a home practice and have included some helpful links for the chants and kriyas.
1. Set the Space
You don’t need anything special to practice Kundalini Yoga—just you as you are, your body as it is, and your breath. Any physical space with enough room to stretch out on will do! Sometimes it’s nice, however, to add a little comfort and intention to your practice.
Props
A yoga mat, blanket, or carpeted room can make the yoga postures and long seats more accessible. You may wish to use a pillow, meditation cushion, set of yoga blocks, or even just a rolled up blanket to help support you through any asana that is difficult for you (placing a support under the knees while sitting cross-legged, for example). Some people may opt for a chair.
It is also helpful to have a meditation shawl or blanket handy, even if your room does not feel chilly. After the physical exercise of a kriya, the body temperature often drops as we shift into relaxation and meditation, and you may find yourself reaching for an additional layer.

Intention
You can also create intentionality in your surroundings, known as setting sacred space. This practice can be as simple as lighting a candle or placing a meaningful object nearby. If you do have the privilege of a space dedicated to yoga and spiritual practice, you could create an altar or decorate the room to support mindful practice.
However you choose to set it up, remember that the physical space is not what will make or break your practice. It is your discipline, devotion, and dedication to your own inward journey. All the crystals in the world won’t equate to you simply showing up each day ready to spend some time with yourself. The only thing you really need is you.
Privacy
Because your yoga practice is an inward journey, it’s nice to find a private space away from noise and distractions. And, this is not always possible. If peace and quiet is not available, consider yourself well on the way to mastery as you practice amidst the chaos and noise of your everyday life!

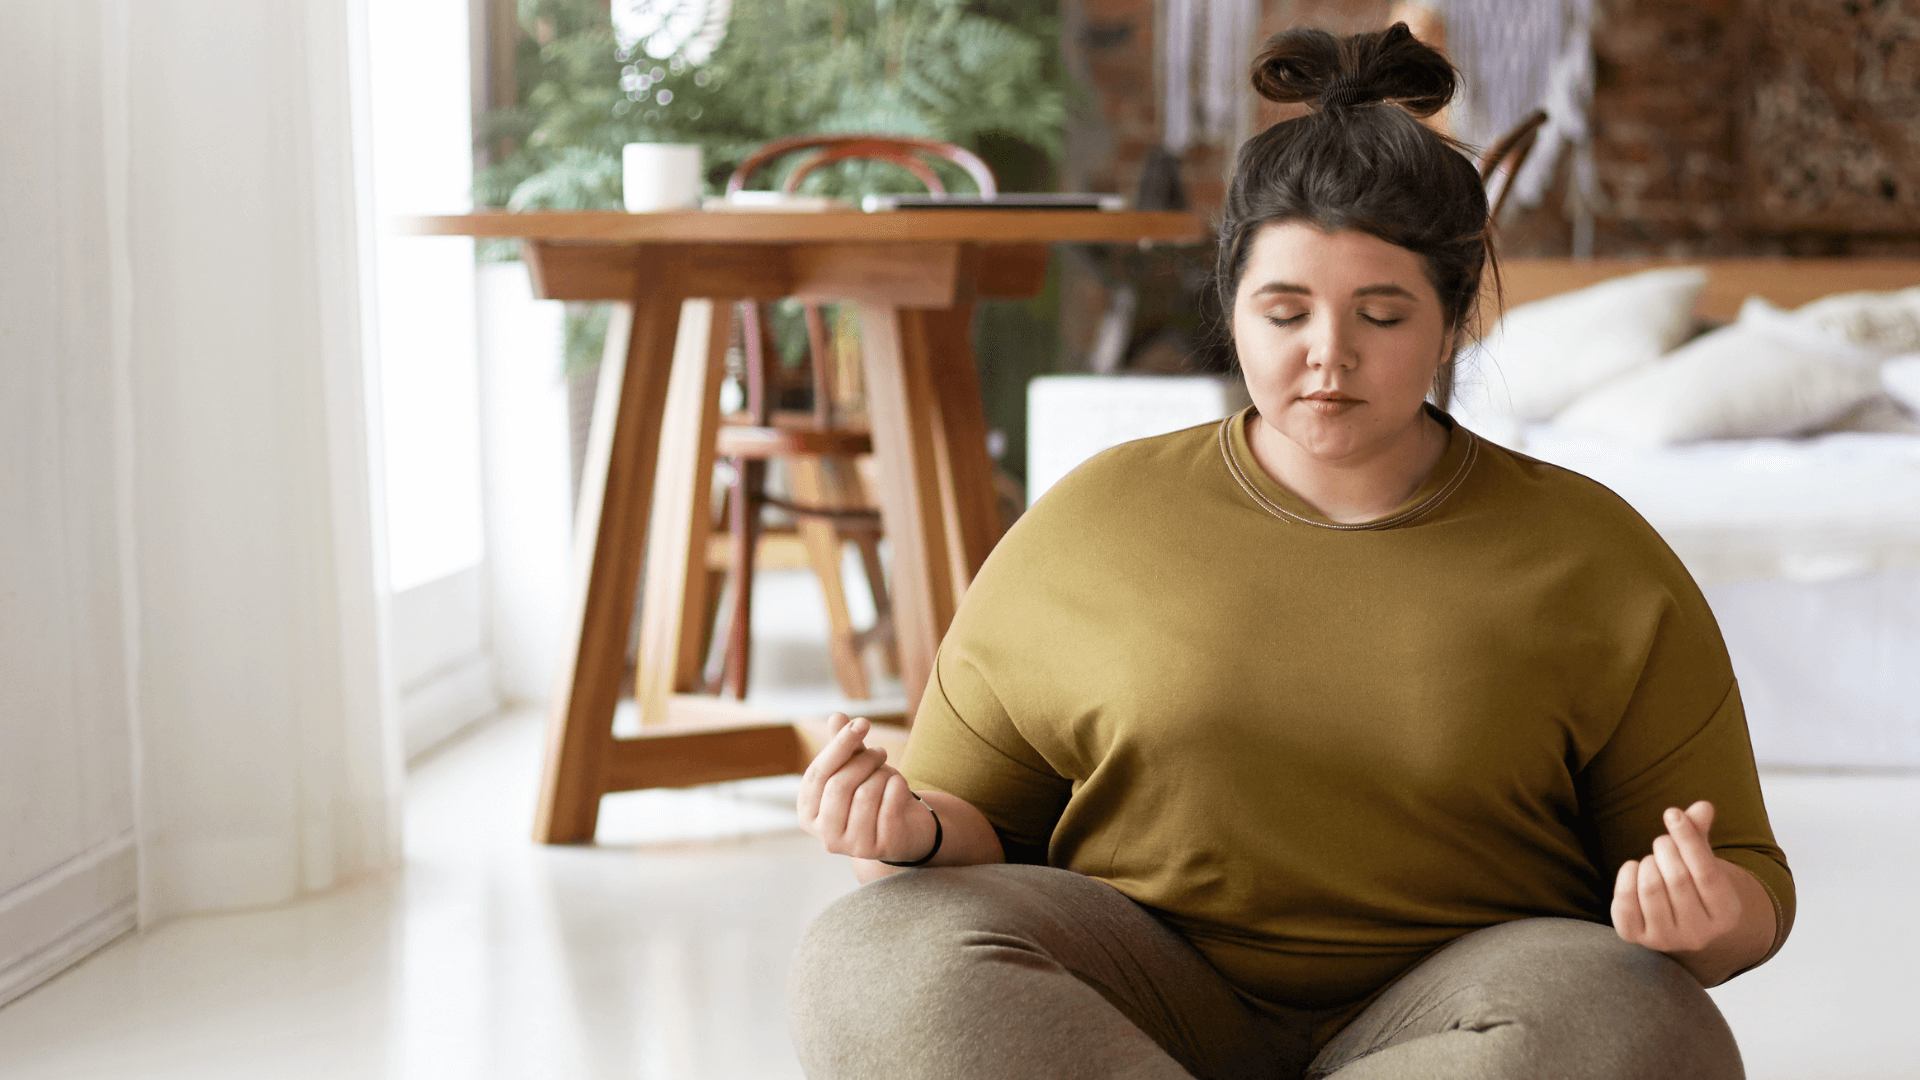
2. Tune In
You are in your space, ready to get started. The first thing to do before any Kundalini Yoga practice is tune in with the Adi Mantra, Ong Namo Guru Dev Namo. The purpose of this is twofold:
First, chanting the Adi Mantra is technically the first kriya. In consciously vibrating the sounds, you activate the master glands in the endocrine system and prepare the mind and body for practice. It is a signal to yourself that you are stepping into a different sort of activity and dropping into a new state of mind.
Second, through the recitation of this mantra, you connect to the lineage of Kundalini Yoga practitioners that have ever chanted this mantra, that are chanting now, and that ever will. This is called the Golden Chain. By invoking the Golden Chain before you practice, you invite the subtle support of all those who’ve come before so that their wisdom can guide you through your practice.
To Tune In
Bring your palms together in Prayer Pose at the center of your chest. Close your eyes and take a few grounding breaths. When you feel ready, chant the Adi Mantra three times (or until you feel complete).
3. Practice a Kriya
Now it’s time to get physical! This is where all of the building blocks of Kundalini Yoga come together and guide you into action. The kriya instructions will usually specify the breath, asana, mudra, eye focus, bandha, and mantra. You don’t have to remember them all—the kriya will lay out the instructions for you! If something isn’t mentioned, there’s no set requirement. By default, when not specified otherwise, you can generally sit cross-legged (or in whatever seated position best suits your body’s needs), eyes closed or with a soft gaze, hands in your lap, breathing long and deep.
When it comes to choosing what to practice, that part is up to you! In many yoga classes it is common to practice a yoga set, followed by deep relaxation and then a meditation. You can follow this format when practicing on your own, but it is also fine to practice a yoga set or meditation on its own.
Remember: a kriya may be made up of multiple different exercises, but it is one complete action. For balance, safety, and efficacy, the whole sequence should be completed in one sitting.
If you are short on time, or limited in physical capacity, you may opt to shorten the times in each exercise until you are able or wanting to work with full times. The rule of thumb is to cut all exercises proportionally, rather than just shortening one exercise that’s difficult, for example. If you want to practice for a longer time, it is better to practice two individual kriyas back-to-back than to extend the times past the recommended amounts.
Need a suggestion for your first kriya?
Visit our Practices here.
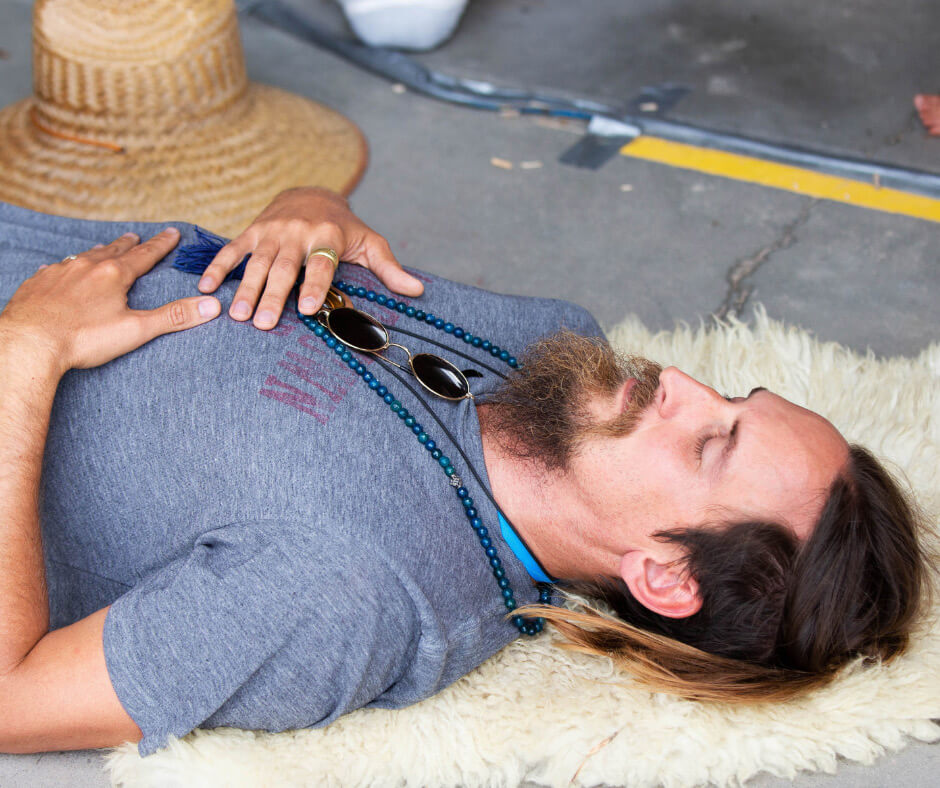
4. Deep Relaxation
After a yoga set, relaxation is a must. Relaxation is generally between 5-20 minutes and is crucial for integrating the effects of your exercise. Attention alpha go-getters: do not skip this step! If you are practicing a seated kriya or meditation that does not involve a strong physical action, relaxation is optional.
To practice relaxation, lie down on your back with your arms at your sides, and the palms facing up. You may like to cover up with a blanket or shawl. Your legs should be extended and relaxed, without crossing your ankles. Surrender the weight of your body to gravity, and enjoy the support of the earth beneath you.
A nice way to drop into relaxation is with a body scan. Begin bringing your awareness to each part of your body in turn, starting at the toes and moving all the way up to the top of the head. As you focus your attention on each part of your body, consciously invite it to relax and sink into the floor. Once you have relaxed every part of your body, the last thing to relax is the mind.
At minimum it takes about three minutes to work your whole body through a relaxing body scan, but you may enjoy a deeper experience if you take your time. An average relaxation might be about 5-10 minutes, but a benefit of practicing at home is that you can relax afterwards as long as you’d like.
To come out of deep relaxation, take a few deep breaths as you bring your awareness back to the room. Invite small movements back into the body by wiggling your fingers and toes, maybe circling your wrists and ankles. Rub the palms of your hands and soles of your feet together to stimulate the blood flow and reawaken the energy channels. Any small, organic movements or light stretches are welcome here. Maybe you reach the arms overhead or cat stretch side to side. Eventually, you can roll back and forth on the spine a few times to sit up.
If you are still new to deep relaxation, you might be surprised to find how difficult it can be! You may be fidgety, bored, uncomfortable, or just plain irritated. True relaxation is rare, and most of us are not used to such a slow pace. If you resist relaxation at first, give yourself permission to have whatever experience you’re having and try to find the courage to rest anyway. As you continue to practice, you may just find it becomes one of your favorite parts of yoga.
5. End
Congratulations, you’ve completed a kriya! Hopefully you’re feeling empowered and at ease right now, though it’s important to know that’s not always the case. Yoga is a practice in self awareness, which means the art is to notice—not to always feel “good.” As you begin to work with different kriyas and techniques, it might be helpful to keep a practice journal and document your experience so you can revisit your journey later.
There is no set way to end your yoga practice, but it is recommended to do so with ease. The energy will continue to circulate throughout your body for some time after you finish your yoga, and you may find yourself taking some time to reintegrate. Try not to jar your system by rushing immediately into busy activities.
Many people like to end with some acknowledgment of their ancestors, the lineage, the land, or with some gesture to close the space. The tradition in many Kundalini Yoga communities is to close with the Long Time Sun song. You can also bow your head in reverence to the infinite, take a few grounding breaths, or anything authentic that helps you seal your practice and transition back into your daily life.

A Day at a Time
Congratulations! You’ve got everything you need to start unlocking the benefits of Kundalini Yoga, whether it’s better health, mental clarity, or a deeper relationship with your own soul.
The benefits of yoga multiply with regular practice. A daily practice is wonderful if you can manage it, but any interval will support you if you put in the intention. Start where you are and nudge yourself toward at least some time committed to your Kundalini Yoga. Discover what works for you: when, where, and how you practice.
Use our Practice Hub page to find what you need whenever you need — and sign-up for our Yogic Living newsletter to get a bi-monthly dose of inspiration.
Sat Nam and see you on the mat!